
 Srpski
 Deutsch
 Español
 Ελληνικά
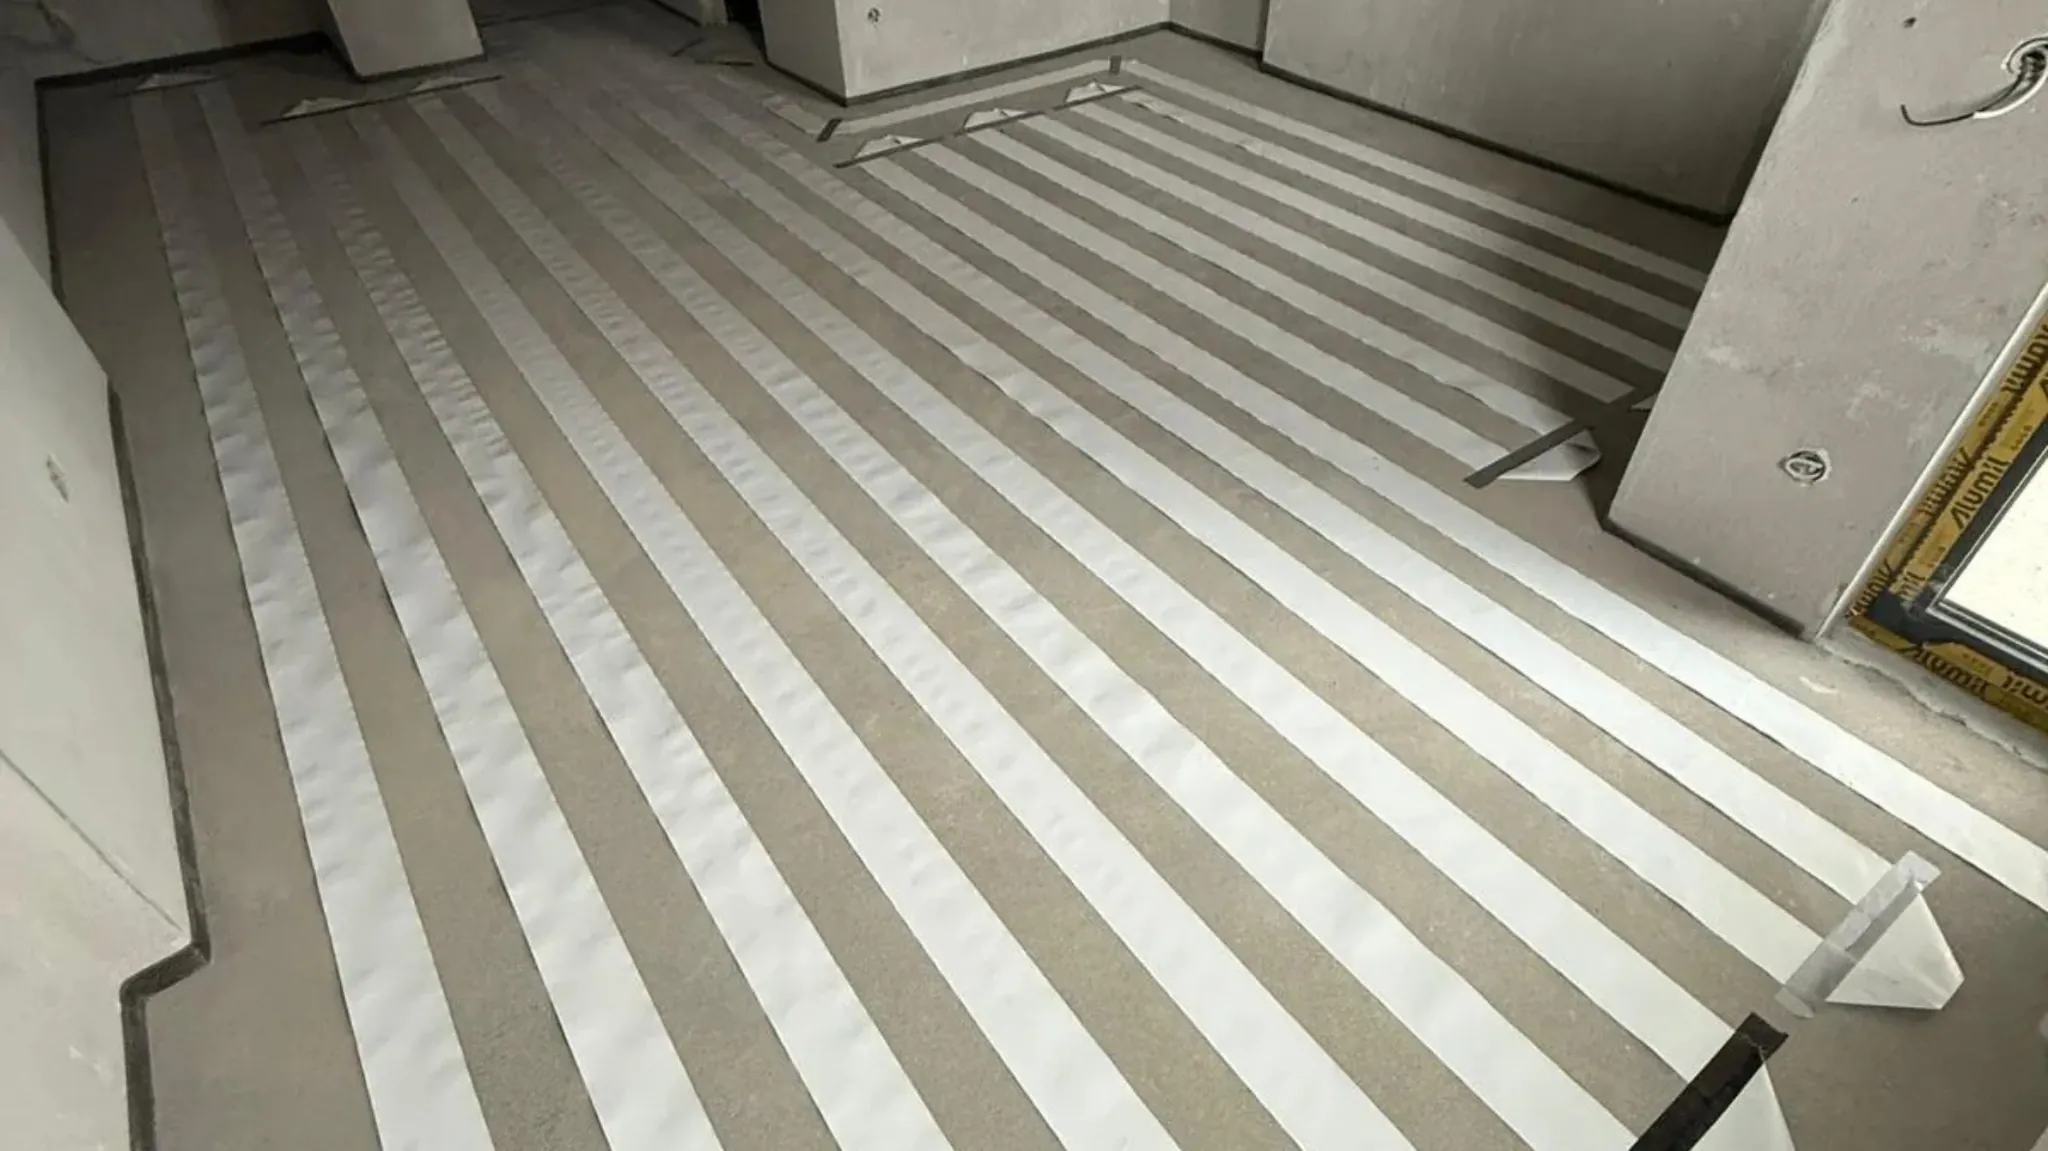
Proper underfloor heating installation is key to long-lasting and reliable system operation. In this text, we explain how heating zones are planned, what the electrical installation looks like, and what floor layers are used when installing Ekoss underfloor heating.
Heating zones – how underfloor heating is organized by rooms
Each building can have one or more heating zones, depending on the room layout and how the space is used. A heating zone is a part of the building that is controlled independently, enabling precise temperature control in different rooms.
Underfloor heating can be divided by floors, rooms, or the purpose of the space, which provides greater comfort and better system organization.
Control cabinet for heating zones
Every heating system begins and ends in a built-in cabinet measuring 40 × 40 cm, which is installed in the wall. This cabinet contains the complete electrical installation for the heating zones.
A direct feed from the distribution board and breakers is brought to the cabinet using a 3 × 2.5 mm² cable, while a 4 × 0.75 mm² cable runs from the cabinet to the thermostat junction box. This layout ensures a safe, tidy installation and simple heating control.
Electrical installation of underfloor heating
The electrical installation is an integral part of proper underfloor heating installation. All cables and connections are planned in advance so the system is safe and fully functional.
Power is supplied directly from the electrical panel, while temperature control is done via thermostats installed in the rooms. This way, each heating zone can operate independently, according to the users’ needs.
Floor layers in underfloor heating installation
One of the most important elements of underfloor heating installation is correctly layered flooring. It ensures efficient heat transfer and protects the heating system.
Standard setup on a concrete slab
In a standard installation, underfloor heating is installed as follows:
- A 5 cm XPS (styrodur) insulation layer is placed on the concrete slab.
- The heating system is installed over the insulation.
- The heating system is protected with facade mesh and flexible adhesive for mechanical protection.
- A nylon foil is laid as a protective layer.
- A screed is poured over everything, forming the base for the final floor coverings.
All types of floor coverings can be used except parquet.
Installing underfloor heating over a screed
In certain situations, it is possible to install underfloor heating over an existing screed. This method is most commonly used in weekend houses or buildings that are used occasionally.
Because there are fewer layers above the heating system, heat becomes noticeable more quickly, enabling faster room warming. This option is also practical when a standard installation below the screed is not possible.
Adaptability to different buildings
Ekoss underfloor heating can be adapted to different types of buildings – from family homes and apartments to weekend houses and smaller spaces. Installation flexibility allows choosing the most practical solution depending on technical conditions and construction stage.
Conclusion – why proper installation is key
A well-planned underfloor heating installation ensures long-term, stable, and reliable system operation. Proper zoning, neat electrical installation, and precisely defined floor layers form the foundation of quality heating.
If you are considering underfloor heating installation, consulting before the work begins is the best way to choose the optimal solution for your building.